Online Courses
A Beginner’s Guide to Equipment for Online Courses (2026)
If you're deciding on equipment for setting up online courses, we’ll talk about what you need to produce a course, for every budget.
Author
Last Updated
November 30, 2025

Table of Contents
“Lights, camera, action!”
“Wait! What lights and camera do I need?”
If you're just getting started in creating your first online course, it's easy to get overwhelmed by the equipment. There are so many people doing it in different ways – how can you get your course up and running?
The truth is, a lot of course creators need less equipment than they think they do. In fact, you can create a fantastic course from your phone - without anything else (okay, maybe a pair of headphones for the mic).
But maybe you’ve got some budget to spend and you’re wondering where to focus.
In this beginner’s guide to equipment for online courses, we’ll talk about the stuff you need to produce a course. We’ll help you figure out what to consider when setting up an online course, and include something for every budget.
What do I need to create an online course?
If you're trying to figure out what you need to create an online course, like we said in the intro, you might need less than you think.
There are no rules here. As long as both you and your students are happy with the experience, and get what they need from it, you're golden.
Some course creators have high-end video equipment. Some create epic, memorable courses with their phone.
You do you.
But here are the basic pieces of gear we’ll cover in this article:
Camera
Screen capture software
Microphone
Essential equipment for online courses
Camera
If your course includes you appearing on video in any capacity, you'll need a camera. This probably means you are creating a typical talking head or presenter video, in which your face talking is what your audience sees.
You might also need a camera if you are demonstrating something that's not on a screen. For example, a cooking class would probably require a camera to video food prep. Painting classes might mean the camera is pointed at your canvas.
Here are some options for cameras:
Phone or webcam
Starting from the most budget, a phone or webcam gives you an accessible camera. And – thanks to the wonders of modern technology – most phones come with solid, high-definition cameras. Heck, people on Instagram are making cinema-quality movies on their phones.
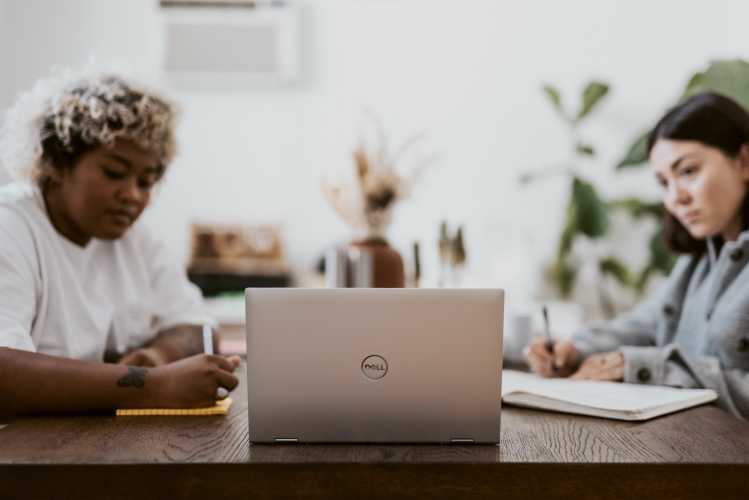
If you are opting for a webcam, the built-in on your laptop might be okay. But test it. A lot of webcam presenters choose to upgrade to a higher-quality webcam that plugs into the USB.
We'll get to lighting below, but if you are solely creating from a phone or webcam, focus on two simple things: the light and the mic.
For light, you can get great quality by just sitting in front of a window. Window lighting is a classic strategy to create natural light on video. Get close and let that beautiful light wash over your face.
Or, if you're presenting at night or in a dark room, you might opt for a ring light for your phone or webcam.
Camcorder
Camcorders used to be big, honking things that you would stick a cassette tape into – are we dating ourselves here?
But you can now easily get a small, sleek camcorder that will take great HD video and fit in the palm of your hand.
You would then transfer the video to your computer, although it is possible to hook up a camcorder to function like a webcam.
Check your local electronic store for affordable camcorders.
DSLR
There are a lot of good quality video cameras out there, but DSLRs are standard. In the old days, an SLR camera – single lens reflex – was a must-have for any serious photographer. It would come with a camera body which you clip interchangeable lenses onto.
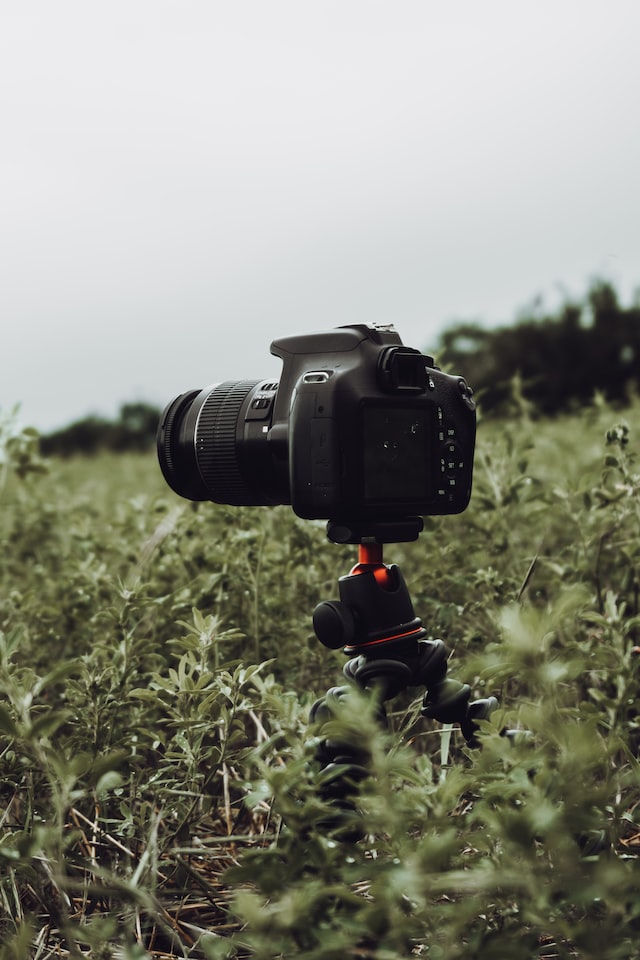
Now, digital SLR cameras give you that same experience, letting you switch for higher quality lenses, but it all goes on to a digital flash drive or laptop. If you are looking for a super high quality course video, a DSLR camera is probably a must.
Screen capture software
If you're presenting anything on the screen, you need some sort of screen capture. Here are some of the options for presenting a screen as part of your course.
Video conferencing
For many people, video conferencing software will be the simplest way to get screen capture into your course. If you look at all the industry standards - Zoom, Google Meet, and Teams, they've got screen share built-in. It could be as easy as creating your slideshow with PowerPoint or Google Slides and sharing it as you present.
The thing that makes this an attractive option is that you got everything in one place. Your sound, webcam or cell phone video, plus your screen sharing is all together.
This conferencing platform also gives you easy ways to record, meaning you can download a recording of your course too. Even if you are teaching live, it's awesome to be able to have a recording to share with the class after. For example, a platform like Zoom lets you share a password-protected link of your presentation after the fact.
Or, if you're using an awesome LMS like Mighty, you can just import a Zoom video or live-stream recording right into your course.
If you’re looking for a more formal, screen-capture tool, you can check out options like Camtasia, Loom, Scribe, or Snag It.
Mic
Your mic is one of the most important things. Studies show that people will stay on a video that's scratchy. But a video with terrible sound quality that hurts your ears? People are going to leave that so fast that it's not funny.
The good news for you as a course creator is that it's not actually very difficult to get good-quality sound. Here are some of your options.
Built-in mic
This is actually the one we don't recommend. Yes, your phone or computer comes with a built-in mic. But chances are, it's not great quality. And even worse, it's going to be far away from your mouth. That means that there's a lot of room for that microphone to pick up all the background sounds of your room, cars going by, dogs barking, and any other electronic interference.
Try not to use a built-in mic if you can help it.
Headphones
The better option, if you're on a budget, is just a plug-in headset or headphones for your phone or computer. Even a low-quality headset puts the microphone right next to your lips, where it's way less likely to pick up interference. This results in better sound quality.
And if you have high-quality headphones, think AirPods, you've got an awesome mic built in.
Test first to make sure your headphones sound okay. But chances are, most modern headphones with a built-in mic will do a decent job.
Lapel mic
The next option is a little bit better. You might opt for a lapel mic. A lapel mic clips onto your shirt or collar, getting right next to your mouth. And they build really great condenser lapel mics now, meaning you are getting top-quality sound.
Picking a lapel mic over your headphone mic also means that you don’t have to have things stuck in your ears – which you might prefer.
The best news? Lapel mics are pretty cheap. Think anywhere from $12 to $100.
Desktop USB condenser
Another option in this middle price range, and the choice of a lot of podcasters, is a desktop USB condenser. Unlike a lapel mic, which clips to your shirt, a USB condenser microphone sits on the desk in front of you. It easily plugs into your computer, which is great. And usually, it will attach to your desk with a clamp.
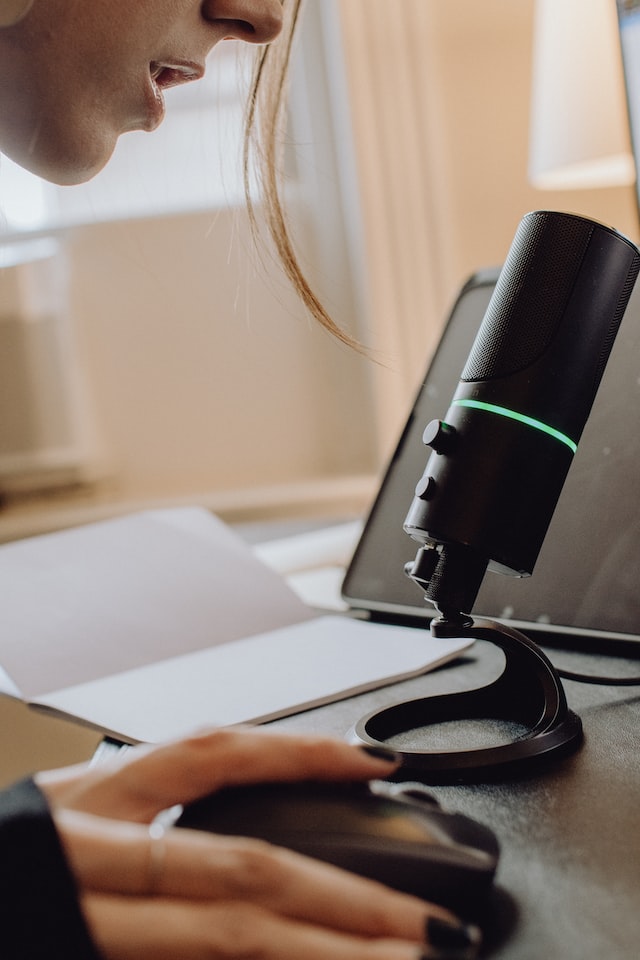
USB condenser mics give you really great quality, that podcast sound, especially if you get your lips up close to it. The downside is that you have a big microphone in your shot.
This bugs some people, and some are okay with it. You need to decide which fits your presentation style.
Shotgun mic
The final option some creators use is a shotgun mic. The great thing about shotgun mics is that they can produce good-quality sound from far away. Usually, you would sit it back on top of a camera, they can even plug directly into a DSLR. Or, if you’re recording from a phone or laptop, you can get a stand for the shotgun mic.
The great thing about a shotgun mic is that it eliminates the problems you get with a lapel mic or with a USB desktop.
If you move around with a lapel mic, the mic will pick up static and popping. Shotgun mics don't.
And, if you hate the sight of a USB condenser mic in your shot, shotgun mics sit back out of the way – invisible to your audience.
The downside? Good shotgun mics are one of the most expensive options on this list. For one that does the job well, you would probably be looking at anywhere from $50 to $250.
Course software
The final thing you'll need to create an online course is some type of course software. There are a bunch of different choices, but the very best course software options will let you do three main things: create courses, charge for courses, and host courses…
Of course, the best of these have a lot of other amazing options. But we'll get to that below!
LMS
If you are teaching a traditional, asynchronous online course, a learning management system is pretty essential.
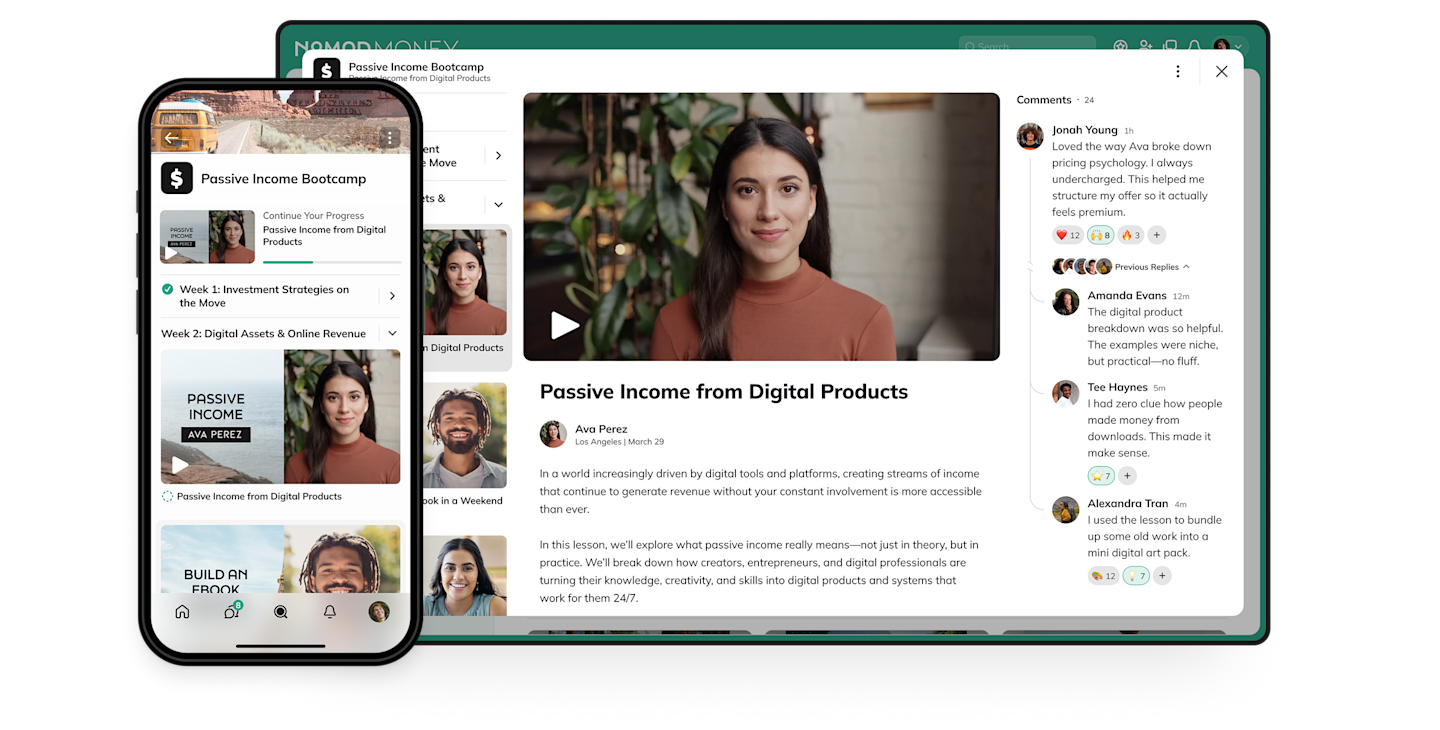
A learning management system is basically an interactive course outline. It will show you the units and lessons of a course, letting you click back and forth between them. With features like marking a lesson complete, evaluations, and commenting on individual lessons, a good LMS is what makes an asynchronous course accessible to students.
Live streaming
On the other hand, if you are teaching a live course - AKA a cohort course - you need a live streaming platform! It should connect to your chosen camera, microphone, and other tech to give your students a great experience!
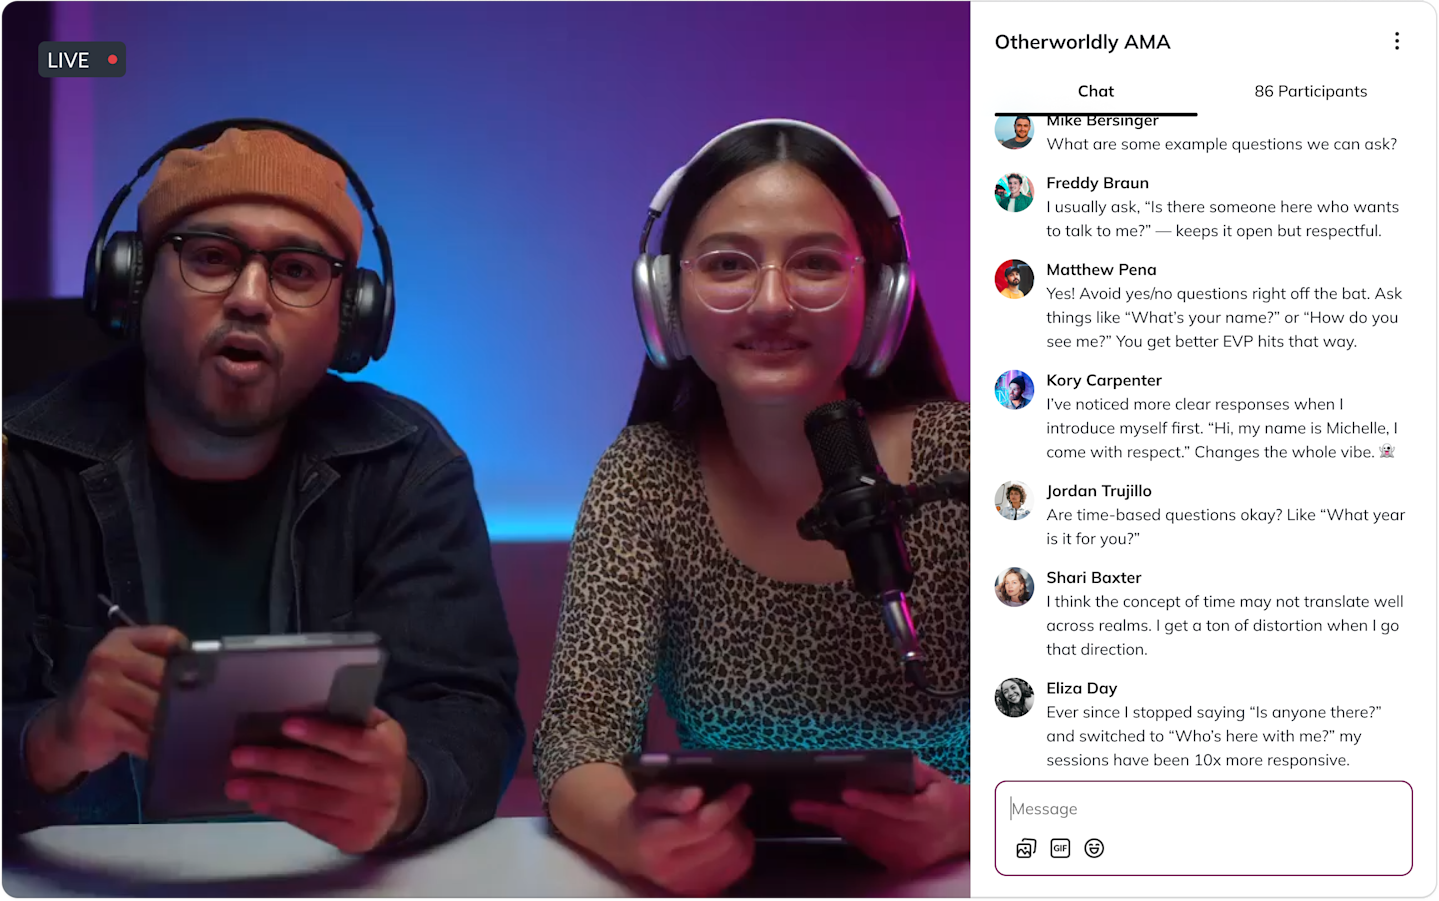
Some course platforms, like Mighty, have native live streaming built in. Unfortunately, they don't all have it. So if this is important to you, pick your platform carefully.
The ability to live stream directly on your course platform is second to none. But you can also integrate with video conferencing software, like Zoom.
Hosting
Part of any online course is going to be hosting it. Unless you are delivering it on YouTube, which is fine but not great, a modern course platform should give you an amazing space to host your course.
This makes it easy to serve it up to your members, helps them have an amazing experience, and you can know it's going to be there when they go to find it.
Sales
Here's where YouTube and Google Meet just can't keep up with a course platform. A good course platform will have a point of sale built in. This means that you can create offers for your students, gate content and courses, and – the best part – can get the money straight into your Stripe or bank account.
Look for things like easy landing pages, a quick sales process, and options to sell your course in different currencies.
Community
The final thing we'll talk about here is community. At Mighty, we make it possible to build a community into every course.
As you probably know, a lot of people who buy online courses don't complete them. And if you get stuck, it can be hard to find help.
Adding a community to your course means a group of people going through the same experience together, often with the same questions. Your students can get encouragement and accountability as they go through the course.
And maybe best of all, they'll probably come away with friends!
Other Gear
Let’s round this out with a few pieces of other gear you might consider – but don’t necessarily NEED.
Light
So, as we said above, if you don’t have a budget for light, you can get pretty great results with a window. Sit in front of it, with your back to a wall, and set the phone or camera up facing you.
If you’re presenting in a darker room, the next cheapest option for lighting your video is probably a ring light. Ring lights have become popular over the past few years among streamers and video creators because they are simple, often small lights that can help create a professional-looking video. And, ring lights are often cheap!
A ring light circles your face, creating a softer light than if you – say – pointed a flashlight at your head (which we wouldn’t recommend).
Last, but not least, if you’re looking for higher-end lighting, you’d be looking at things like soft lights, light boxes, and backlights. There’s a whole art to lighting videos, which we won’t get into here.
Tripod
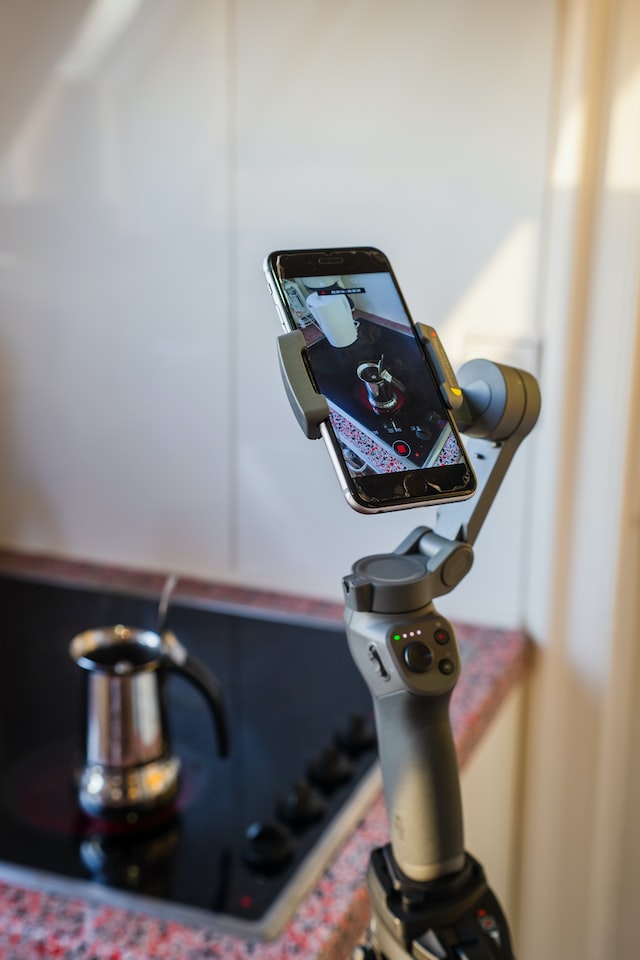
Last – but not least – you might need a stand. If you’re presenting from your phone, you want a stable video feed. Hand-held video can be shaky – not to mention your arm gets tired after a while. Setting it on a window ledge or table is totally possible if you’re on a budget.
Or, if you’re building a rig, you might want to invest in a tripod. Tripods can be made to fit whatever camera you have, whether it’s the screw-on base of a DSLR or a clip for a phone. A tripod is a life-saver for many course creators and might be worth adding to your “to buy” list for gear.
Ready to start?
If you're ready to start, hopefully, this brief guide to equipment for online courses has helped you. At the end of the day, you don't need to overthink it. Between modern tech and course software, you can build a course empire on your phone if you want!
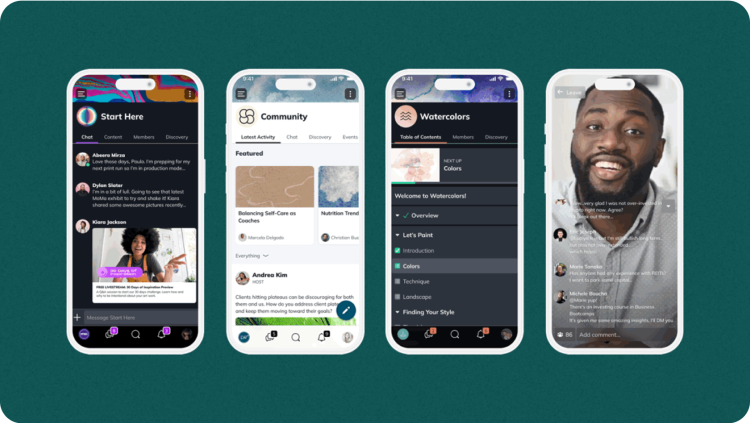
And if you're ready to start building, come give Mighty a try! We've got everything you need to build either a synchronous or asynchronous course - that's live or pre-recorded. Our flexible Spaces give you a beautiful learning management system, native live streaming, awesome member profiles, and built-in live events – not to mention a powerful community engine with discussions, chat, messaging, and more.
It's easy to build sales pages and sell your course. And you can charge in 135 different currencies, or even with token gating. It's got a beautiful app for every device, meaning you can run your whole business from your phone if you want.
And it's totally free to try for 14 days! No credit card required.
Ready to start building your community?
Start a free 14-day trial to explore Mighty—no credit card required.
More like this
Join Mighty Community
Learn the principles of Community Design™ (and see them in action) alongside thousands of creators and entrepreneurs. It's free to join!
Online Courses
Creating a Course
Teaching a Course
Course Platforms
Selling a Course
Communities & Memberships
Community Platforms
Managing a Community
Building a Community
Growing a Community
Monetizing a Community
Creators & Entrepreneurs
Monetization
Content Creation
Starting a Business
Website Builders
Creating & Managing a Website
Events
Event Platforms
Hosting & Marketing Events
Branded Apps
Creating a Mobile App
Coaching Apps
Community Apps
Coaching
Mastermind Groups
Starting a Coaching Business
Coaching Platforms
Filter by Category
Online Courses
Communities & Memberships
Creators & Entrepreneurs
Events
Branded Apps
Coaching
Start your free trial
14 Days. No Credit Card Required.

