Creators & Entrepreneurs
Quick Guide for How To Use ClickFunnels (7 Steps)
We walk you through getting your sales funnel up and running using ClickFunnels.
Author
Mighty Team
Last Updated
February 6, 2025

Table of Contents
If you’ve ever tried to sell anything on the internet, you’ve probably come across the idea of a sales funnel. And if you’ve done any research on sales funnels, you’ve probably come across the brand ClickFunnels.
ClickFunnels was created by the web entrepreneur Russel Brunson. It’s software built to create your own profitable funnels and sell your stuff, whatever it is you make or do. It’s a great tool and works well for selling some of the products we build here at Mighty Networks, like membership communities, courses, events, or coaching.
So in this article, we’ll walk you through the basics of getting your own funnel up and running. Here’s how to use ClickFunnels, in 7 steps.
If you want more support in building your online course and community, come join OUR Mighty Community for free and meet other new and established community owners! We’d love to meet you. Join for free!
Step 1: Sign up for a ClickFunnels account
Maybe it’s obvious, but this is the place to start! You’ll first need to create a ClickFunnels account and get login credentials.
If you’re just trying ClickFunnels, it will usually give you a 14-day free trial, but you’ll need to put a credit card number in first.
Step 2: Choose your goal
ClickFunnels will offer you different funnels depending on your goal. Right when you get into the site, they’ll present you with three main options: collecting emails, selling a product, or hosting a webinar. Once you select which one you want to do, you’ll get the funnels that match that goal.
Just a note, there are way more funnels in the “sell your product” section than anywhere else. If you choose “Sell Your Product” you’ll go to another menu with more options like this. The reason for this should be pretty obvious – there are a lot of possibilities for things to sell and ways to sell them.
Choose the one that works for your current goals.
Step 3: Name your funnel
Next, you’ll give your funnel a name and add a tag for the people who go through the funnel. This “Group Tag” collects the emails for everyone who goes through that funnel under one label (“tag”) so you can mass email them later.
Step 4: Build your funnel
Next, you’ll get a whole bunch of templates to build from. These are premade templates that have been tested by ClickFunnels. You can click “Preview” to click through them, and when you find one you like, choose it!
You can then click the “Edit” button to customize the template to fit your needs.
At this point, you can set up an A/B test, which is never a bad idea. An A/B test will let you use two different pages in a funnel to see which one works best.
You can also add more steps to your funnel at this stage. So if you want to add an extra upsell or downsell, this is the place to do it. (If these are terms that you’ve never heard, check out some of the free training on the ClickFunnels site to learn a bit more about how funnels work.)
Step 5: Connect everything else
Once your funnel is in place, you’ll need to do a few more things. If you’re collecting money in your funnel, you’ll need to connect a payment account.
If you’re sending out an email either as a thank you or with something you offered (e.g. “Here’s Your Free PDF Guide to Finding 50 New Clients”), you can set this up as a follow-up funnel. This lets you email all the people who signed up for a specific funnel. You can also build full connected funnels here.
We won’t get into all the advanced features of ClickFunnels in this guide, but if you’re doing things like running an affiliate program (recruiting people to help you sell), you can do this at this stage too.
Step 6: Set up your traffic source
The thing that makes ClickFunnels work is a traffic source! You may have lots of different traffic sources, like your blog, social media posts, email lists, and paid advertising.
If you’re setting up paid advertising, you’ll need to do that now. Say your primary audience source will be Facebook ads. Set up your account, build your audience and your ads, and get ready to launch!
Step 7: Launch and learn
You’re ready to launch, so go!
But don’t just stop there. Watch to see what works and what doesn’t work with your funnel. Do you need to tweak the copy? Is the ad audience not quite right? Make sure you learn as you go to make your funnel as effective as it can be!
Ready to go?
We hope this quick guide to ClickFunnels has given you the basics, and we hope you’re excited to start! ClickFunnels is an awesome tool for any online marketer, and it can pair really well with Mighty Networks. If you’re using Mighty Networks’ powerful platform to build a community, course, or event, ClickFunnels can help you fill up the virtual seats and find those customers who will become your raving fans.
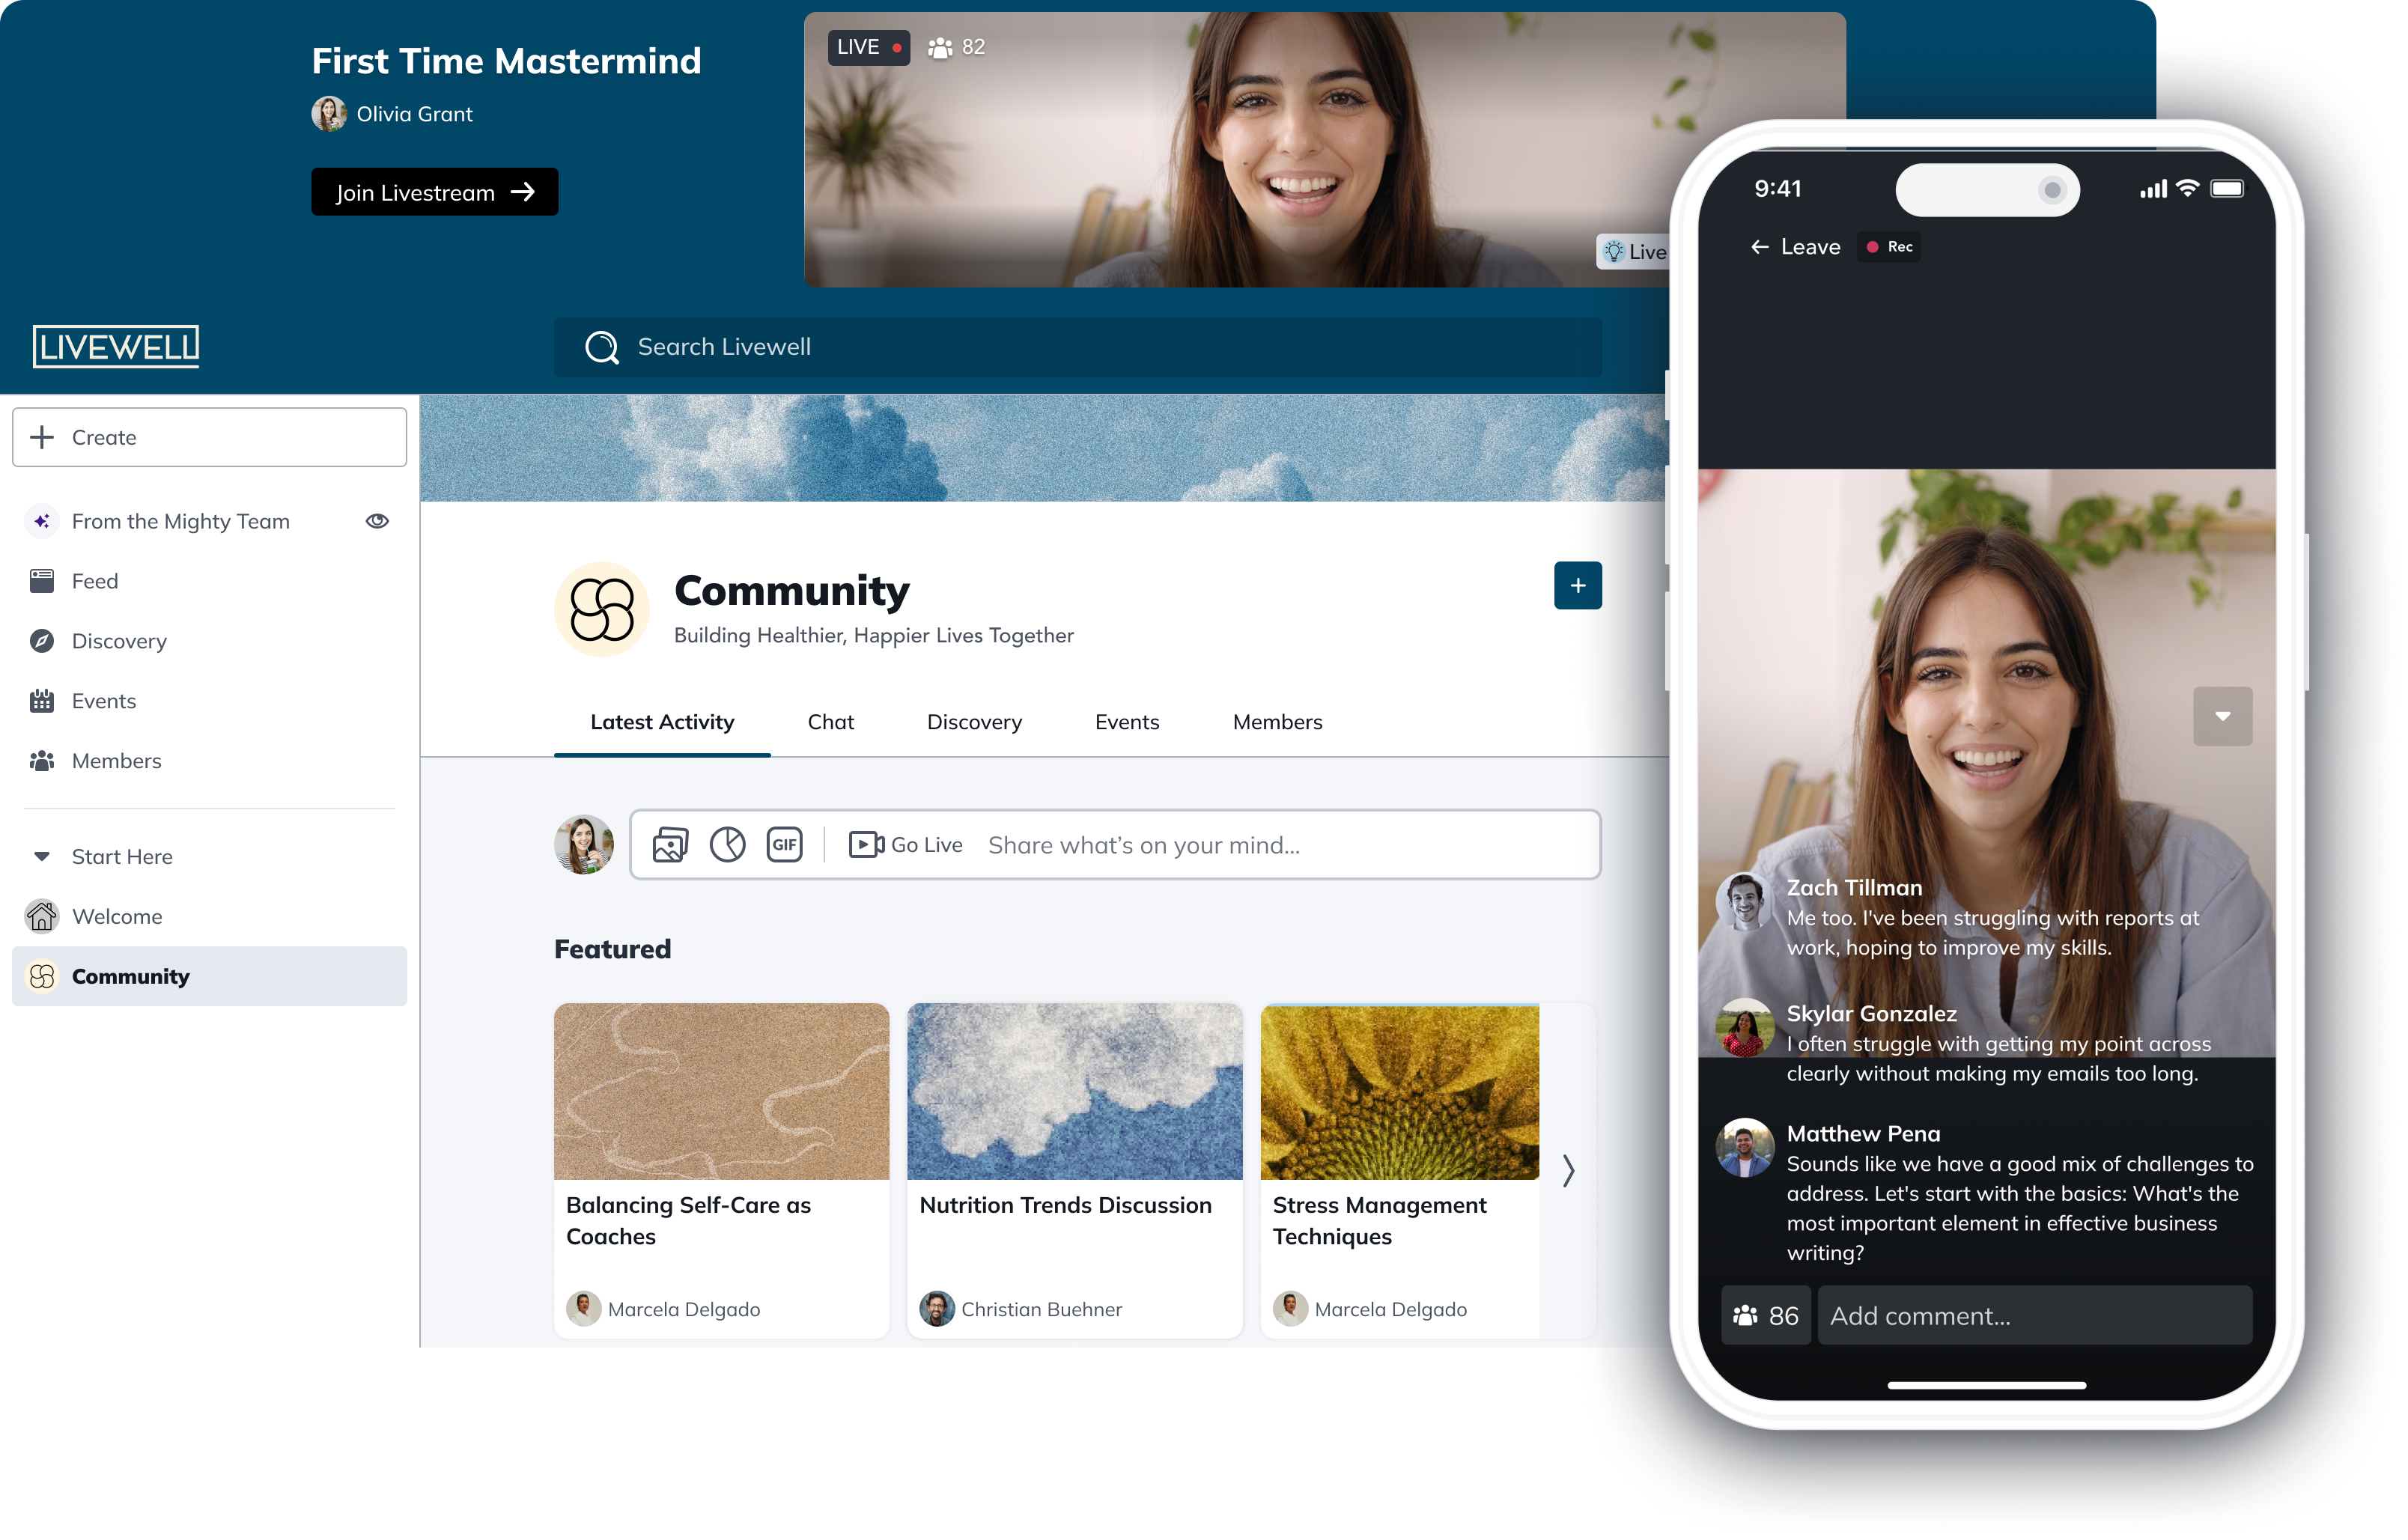
And if you haven’t started building your product yet, come check out Mighty Networks for free! With features like an interactive community, intuitive pre-made and live course engines, live streaming, one-click events, and an app for every device, it’s the perfect place to build and monetize your online business.
Ready to launch your online course or community?
Ready to start building your community?
Start a free 14-day trial to explore Mighty—no credit card required.
More like this
Join Mighty Community
Learn the principles of Community Design™ (and see them in action) alongside thousands of creators and entrepreneurs. It's free to join!
Online Courses
Creating a Course
Teaching a Course
Course Platforms
Selling a Course
Communities & Memberships
Community Platforms
Managing a Community
Building a Community
Growing a Community
Monetizing a Community
Content Creation
Creators & Entrepreneurs
Monetization
Content Creation
Starting a Business
Website Builders
Creating & Managing a Website
Events
Event Platforms
Hosting & Marketing Events
Branded Apps
Creating a Mobile App
Coaching Apps
Community Apps
Coaching
Mastermind Groups
Starting a Coaching Business
Coaching Platforms
Filter by Category
Online Courses
Communities & Memberships
Creators & Entrepreneurs
Events
Branded Apps
Coaching
Start your free trial
14 Days. No Credit Card Required.

